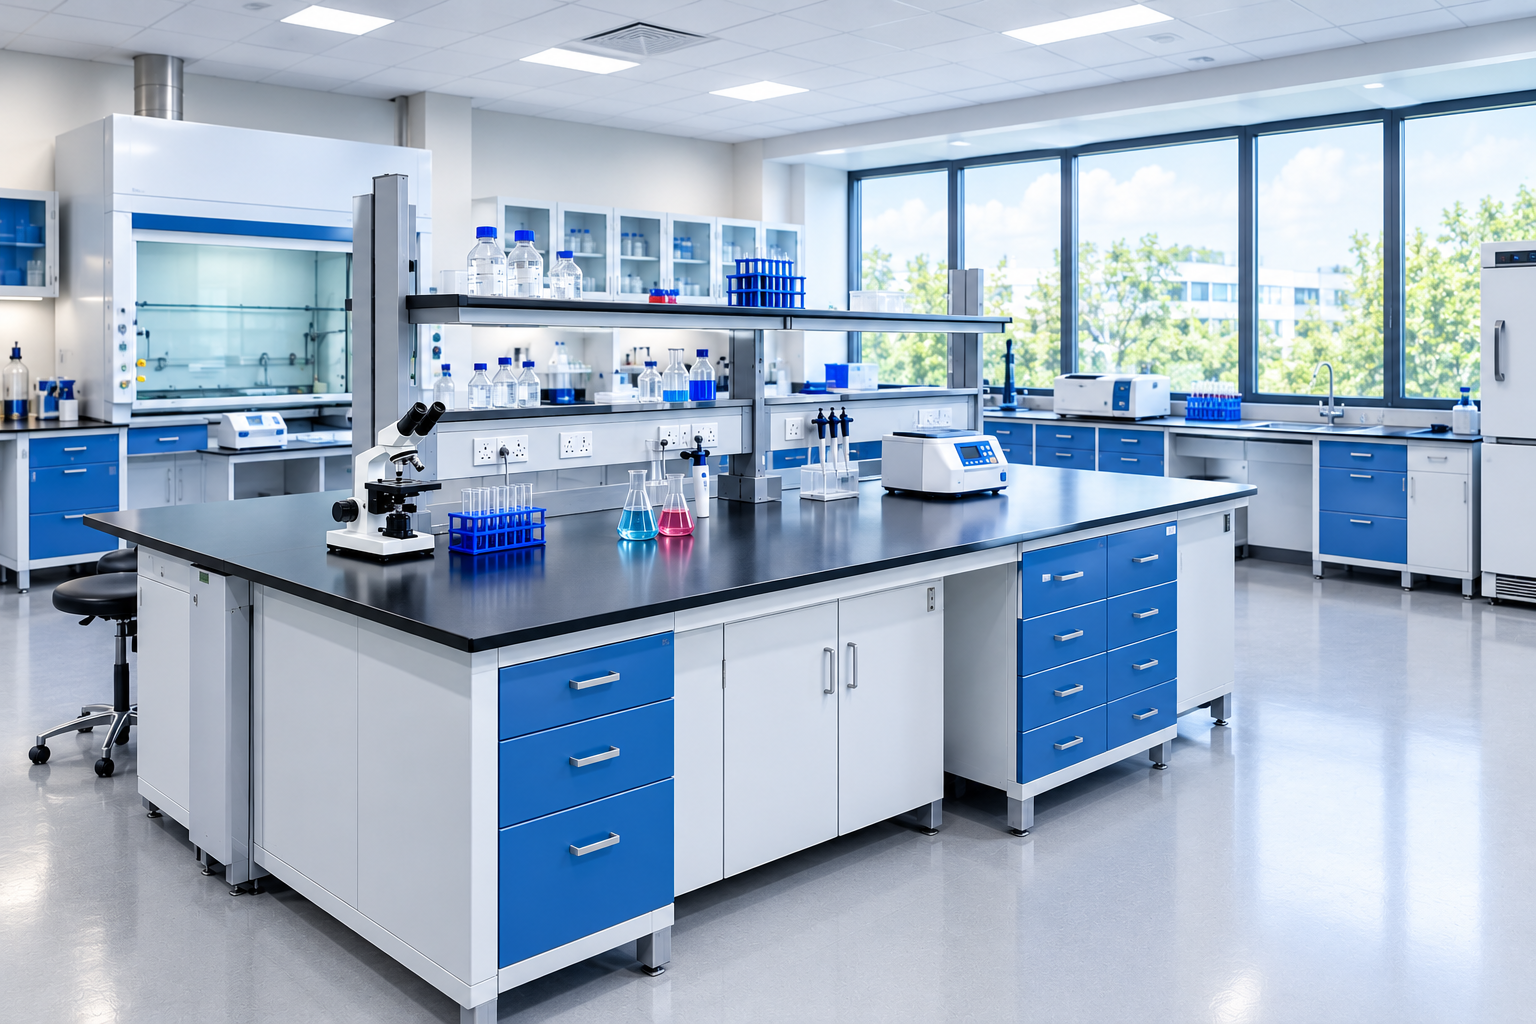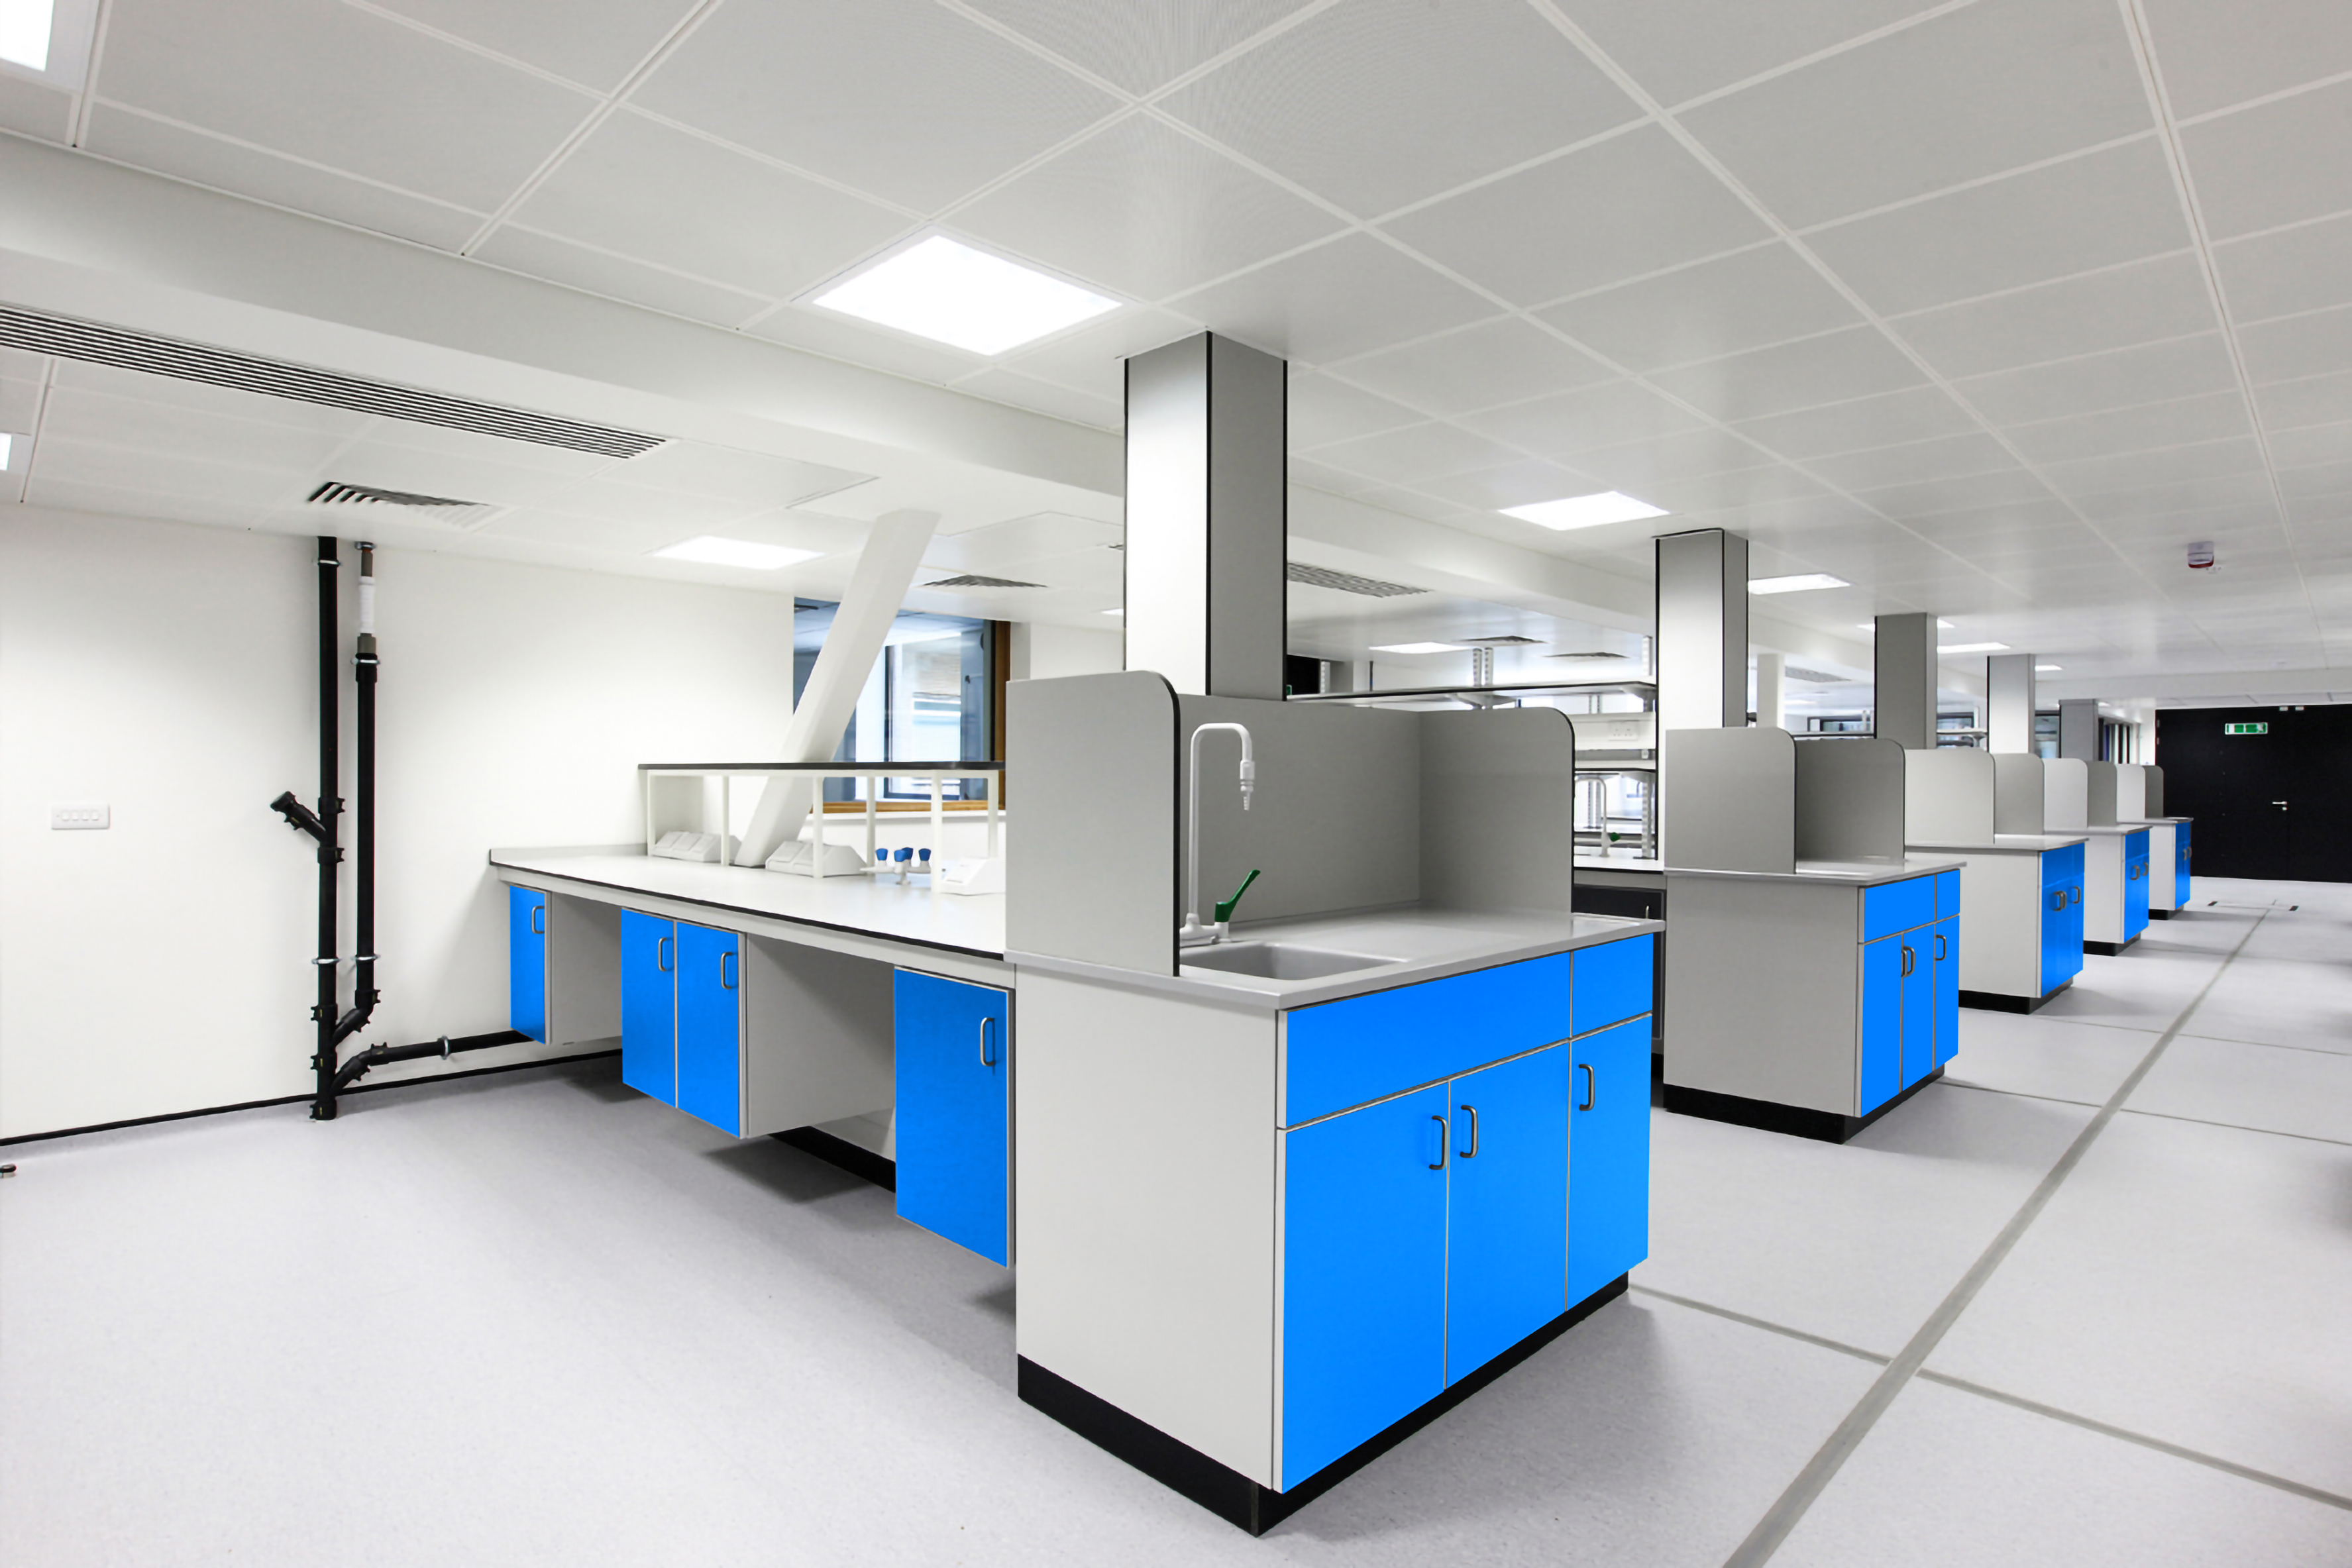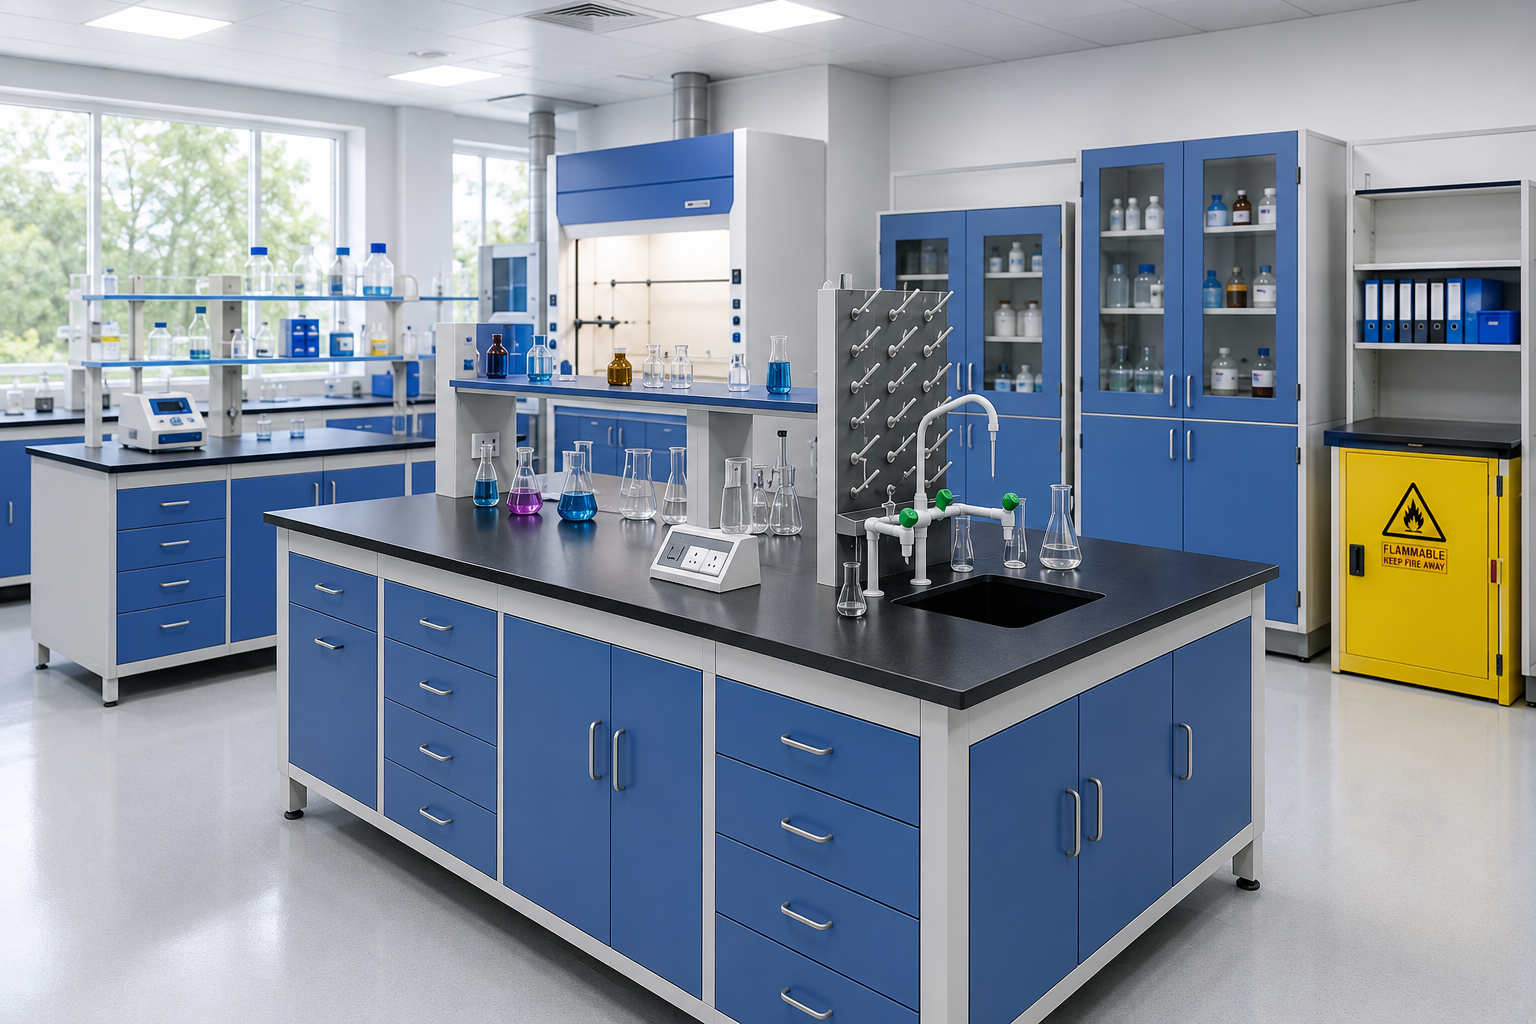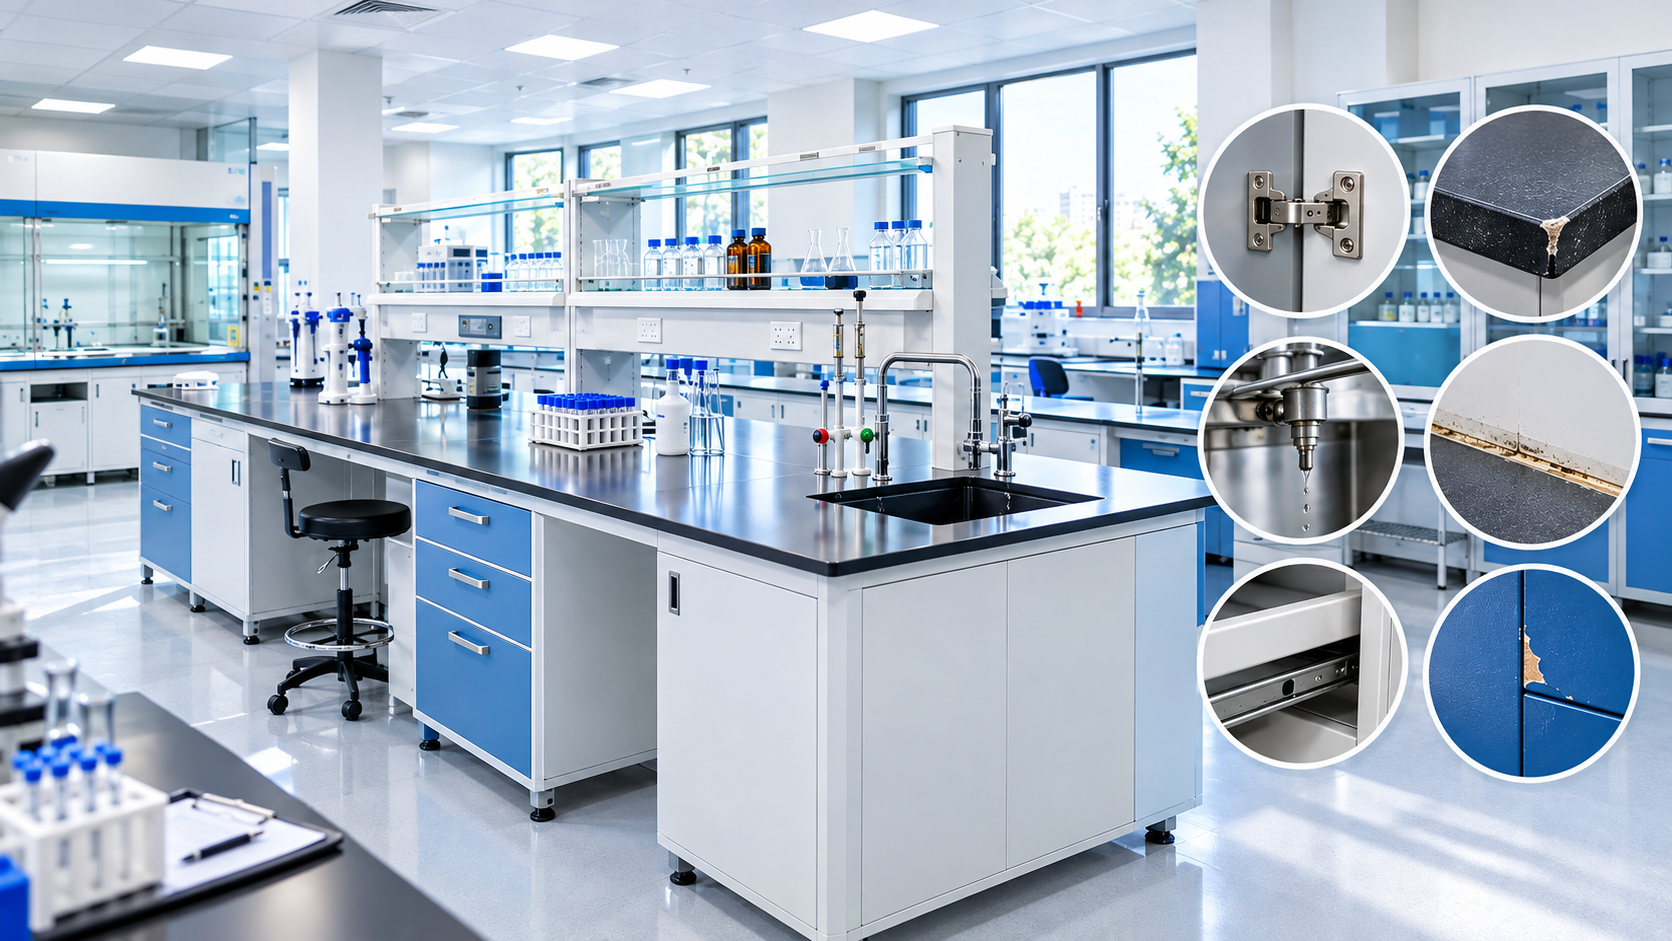
Lab furniture rarely fails all at once. A drawer starts to catch, a silicone joint darkens, a worktop edge lifts a little. Each one looks minor, and each one is an early signal. By the time a bench top delaminates or a cabinet door drops off its hinge, the furniture has usually been compromising the lab for months: harbouring contamination, shedding particles, or putting an operator at risk.
This guide covers how to inspect lab furniture, which repairs are worth doing, how to tell when replacement is the better call, and how to plan a lifecycle so failures are scheduled rather than discovered.
Why Lab Furniture Needs a Maintenance Plan
Lab furniture works in conditions ordinary furniture never sees: repeated disinfectant cleaning, chemical splashes, hot equipment, heavy loads, and constant water exposure around sinks. In pharmaceutical, biotech, healthcare and research labs, the furniture also affects compliance. Surfaces must stay smooth, non-porous and cleanable, or they stop supporting the hygiene standard the room was built for.
A maintenance plan does three things:
- Protects contamination control. Cracked joints, pitted steel and peeling coatings trap residue and microbes that routine cleaning cannot reach.
- Protects people and samples. Unstable benches, failing shelf supports and leaking sink traps cause spills, breakage and injuries.
- Controls cost. Replacing a hinge, a gasket or a sealant line costs far less than replacing a whole unit, and far less than repeating a batch or experiment lost to a furniture failure.
Know Your Materials Before You Inspect
Inspection criteria depend on what the furniture is made of. Each material fails in its own way.
Stainless steel (SS). Used for benches, sinks, cabinets and workstations because it is non-porous and easy to sanitise. Grade matters: SS 304 suits general laboratory use, while SS 316 handles chlorides and harsher chemical exposure better. Stainless steel fails through pitting, rust staining (often from chloride-based cleaners or contact with carbon steel), weld discolouration and surface scratching that gives residue a foothold.
Epoxy resin and phenolic tops. Chosen for chemical and heat resistance. They fail through chipping at edges, surface etching from incompatible reagents, hairline cracks near cut-outs and swelling at unsealed edges.
Powder-coated or painted steel. Common for carcasses, storage units and frames. The coating fails through chipping, blistering and flaking, which exposes bare metal and sheds particles into the room.
Fittings and joints. Hinges, drawer slides, handles, levelling feet, sealant lines, and water and gas fittings wear out well before the main structure does. They are the first things to inspect and the most common cause of day-to-day complaints.
How to Inspect Lab Furniture: A Practical Schedule
A tiered schedule keeps inspection manageable. Quick checks by the people who use the furniture catch most problems early, and deeper checks by trained maintenance staff catch the rest.
Daily checks (operators)
- Look for visible spills, residue or staining that cleaning did not remove.
- Check that drawers, doors and sliding shelves open and close without sticking or noise.
- Confirm sink drains flow freely and no water pools around the base of a sink or tap.
- Note any wobble in benches or trolleys.
Weekly or fortnightly checks (lab supervisor)
- Inspect work surface edges and corners for chips, lifting or cracks.
- Check hinges and handles for looseness.
- Look under sinks and along splashbacks for moisture, drips or sealant gaps.
- Check that levelling feet are all in contact with the floor.
Monthly checks (maintenance team)
- Test drawer slides and hinges under normal load.
- Inspect all sealant lines between benches, walls and splashbacks for discolouration, shrinkage, gaps or mould.
- Examine stainless steel for pitting, rust spots and weld discolouration.
- Check shelf supports and wall-mounted units for movement or sagging.
- Inspect gas, water and electrical service fittings integrated into benches for leaks, corrosion or loose connections.
Annual or planned-shutdown checks (maintenance team with the supplier)
- Full structural check of frames, welds and anchor points.
- Load-bearing review of benches that carry heavy instruments.
- Chemical-resistance review of worktops against the reagents currently in use, since lab work changes over time.
- Condition rating of every unit, recorded for the replacement plan.
Record every inspection. A simple log with the unit ID, date, finding, action and sign-off gives you a condition history, supports audit readiness, and shows you which units are degrading faster than others.
Warning Signs That a Unit Is Approaching Failure
Some findings call for immediate action. Others point to a developing problem that should be scheduled for repair.
Act immediately:
- A bench, shelf or cabinet that moves, sags or tilts under load.
- Cracks in a work surface that extend through its thickness.
- Active leaks at sinks, traps or service fittings.
- Exposed bare metal or sharp edges where a coating has failed.
- Corrosion that has progressed into structural members or welds.
Schedule a repair:
- Doors that no longer align or close fully.
- Drawers that stick, drag or fall off their runners.
- Sealant lines that have cracked, shrunk or discoloured.
- Small chips at worktop edges, before moisture gets under the surface.
- Surface etching in a work area where reagents are used regularly.
Plan replacement:
- The same unit needs repair repeatedly within a short period.
- Surface damage is widespread and cleaning no longer restores the surface.
- The unit cannot be adapted to the lab’s current equipment, workflow or chemical load.
- Spare parts or matching components are no longer available.
Repair or Replace: A Decision Framework
Repair is the right answer more often than people expect, but not always. Use these questions to decide.
1. Is the damage cosmetic, functional or structural?
Cosmetic and functional damage (a worn hinge, a failed gasket, a resealed joint) is usually repairable. Structural damage in frames, welds or load-bearing surfaces usually points to replacement.
2. Can the surface still be cleaned to the required standard?
If the surface is pitted, cracked or porous enough that residue stays behind after cleaning, repair rarely restores it. A surface that cannot be cleaned properly is a contamination risk, and in a regulated environment it is a compliance risk as well.
3. How often has the unit been repaired?
One repair on a unit in otherwise good condition is routine. A pattern of repeat repairs means the underlying cause (material wear, wrong chemical exposure, overload) has not been fixed.
4. Does the unit still fit the lab’s work?
Labs change. New instruments, heavier loads, different reagents and revised workflows can make a once-suitable unit the wrong one. A repair does not fix a mismatch.
5. What does downtime cost?
Sometimes a full replacement planned during a shutdown costs less than a string of small repairs that interrupt work again and again.
As a general rule, repair when the fault is isolated, the surface is still sound and the unit still suits the lab. Replace when damage is structural, the surface can no longer be cleaned properly, or repairs have become frequent.
Common Repairs and What They Involve
- Hinges and drawer slides: replace worn components and re-align doors and drawers. This is the most common and cheapest repair.
- Sealant lines: remove the old sealant fully, clean and dry the joint, and apply a fresh laboratory-grade sealant. Applying new sealant over old does not hold.
- Levelling and stability: re-level feet, tighten fixings and check that load is distributed evenly.
- Worktop edge repair: seal small chips early to stop moisture from getting under the surface. Larger damage usually means replacing the top section.
- Stainless steel restoration: remove rust stains with a method suited to the grade, then re-passivate where required. Find and remove the cause, such as chloride cleaners or contact with other metals, or the staining returns.
- Coating touch-up on steel carcasses: acceptable for small areas away from direct contact zones. Widespread flaking means the coating system has failed.
Plan the Lifecycle, Not Just the Repairs
Lab furniture moves through predictable stages. Planning for each one keeps failures from becoming emergencies.
Stage 1: Specification and installation. The best maintenance decision is made at purchase. Choosing the right material for the chemical load, the right grade of stainless steel, and a modular layout that can be reconfigured gives the furniture a longer useful life. Installation quality matters too: a level, properly anchored and well-sealed bench is easier to maintain for years afterwards.
Stage 2: Stable service. The furniture performs as designed. The job here is routine cleaning with compatible agents, prompt spill response and regular inspection.
Stage 3: Wear and degradation. Fittings loosen, sealants age and surfaces show wear. Inspections now matter most. Condition ratings from your log tell you which units to repair and which to flag for replacement.
Stage 4: Replacement planning. Replace on your schedule, not the furniture’s. Budget in advance, line replacements up with planned shutdowns, and replace in phases where a full refit is not practical.
Stage 5: Retirement. Decontaminate retired units properly before removal and record the disposal.
Modular furniture suits this approach well. Units can be replaced, added or rearranged one at a time as the lab evolves, instead of forcing a full refit every time one section wears out. Venair’s modular SS lab furniture is built on this principle: storage cabinets, chemical-resistant units, island tables and workstations that can be adjusted or extended as laboratory needs change.
Cleaning Practices That Extend Furniture Life
Much of the damage seen at inspection comes from how furniture is cleaned, not how it is used.
- Use cleaning and disinfecting agents compatible with each surface material, and check them against the furniture manufacturer’s guidance.
- Avoid abrasive pads and scrapers on stainless steel and resin surfaces. Scratches hold residue and start corrosion.
- Rinse and dry stainless steel after disinfectants, especially chloride-based ones.
- Wipe spills immediately instead of leaving reagents to sit on the surface.
- Never use carbon steel tools or wire wool on stainless steel.
- Rotate cleaning agents only if the rotation is validated for your environment, and record what was used.
Documentation and Compliance
For pharmaceutical, biotech and healthcare labs, maintenance records are part of the quality system. A good record shows that furniture was inspected on schedule, defects were found and corrected, and surfaces stayed within the cleanability requirements of the facility. Keep:
- An inventory of furniture units with IDs and locations.
- Inspection logs with findings and corrective actions.
- Repair and replacement records.
- Cleaning agent compatibility information.
- Condition ratings and a rolling replacement plan.
Auditors look for evidence of control. A furniture log that shows problems being found and fixed before they cause failures is exactly that.
Frequently Asked Questions
How often should lab furniture be inspected?
Use a tiered schedule. Operators should do a quick visual check daily, supervisors a closer check every week or two, and maintenance staff a detailed check monthly. A full structural and condition review should happen at least once a year, ideally during a planned shutdown. Labs that handle aggressive chemicals, or that work in regulated environments, may need to inspect more often.
What are the first signs that lab furniture needs repair?
The earliest signs are usually small: sticking drawers, loose hinges, doors that no longer align, darkened or cracked sealant lines, small chips at worktop edges, and rust spots on stainless steel. Fixing these early is cheap and prevents moisture, chemicals and contamination from causing deeper damage.
Is it better to repair or replace damaged lab furniture?
Repair when the damage is isolated, the surface can still be cleaned to the required standard and the unit still suits the lab’s work. Replace when damage is structural, surfaces are pitted or cracked beyond restoration, the same unit keeps needing repairs, or the unit no longer fits current equipment and workflows. A surface that cannot be cleaned properly should be replaced in any controlled environment.
How long does lab furniture last?
There is no single figure. Service life depends on the material and grade, the chemicals used, how often and how aggressively surfaces are cleaned, the loads carried and how well the furniture is maintained. Stainless steel units that are cleaned with compatible agents and inspected regularly generally last much longer than units that see chemical damage or neglected maintenance. Your own inspection records are the most reliable guide to when a particular unit will need replacement.
Why does stainless steel rust in a lab?
Stainless steel resists corrosion because of a thin protective oxide layer on its surface. Chloride-based cleaners, prolonged contact with salts or acids, scratches that break the layer, and contact with carbon steel can all damage it and cause rust spots or pitting. Using a suitable grade, such as SS 316 for harsher environments, cleaning with compatible agents and rinsing and drying after disinfection all protect that layer.
Can sealant joints on lab benches be repaired?
Yes. Remove the old sealant completely, clean and dry the joint, and apply fresh laboratory-grade sealant. Applying new sealant over old, cracked material does not give a lasting seal. Because sealant lines are among the first parts to age, check them monthly.
What records should be kept for lab furniture maintenance?
Keep a furniture inventory with unit IDs, inspection logs with dates and findings, repair and replacement records, cleaning agent compatibility details, and a condition-based replacement plan. In regulated environments these records show that surfaces were kept in a cleanable, controlled condition.
Conclusion
Lab furniture that is inspected on a schedule, repaired early and replaced on a plan lasts longer, protects the lab’s contamination control and costs less over its life than furniture that is only attended to when it breaks. The method is simple: know your materials, inspect in tiers, log what you find, apply a clear repair-or-replace test, and plan replacement before failure forces it.
If you are reviewing existing lab furniture, planning a refit, or specifying furniture for a new facility, Venair Solutions can help with modular lab furniture suited to your room size, application and compliance needs. Share your project details with the team on +91 98451 90711 or through the contact page to get a quotation.